To participate in the contest, you need to upload, select & submit your photos. This guide will help you submit your photos to participate in the contest
Sign-In/ Register
First, Sign In to pixlent.com

If you are a new user, you need to Register (as a Member) before proceeding

You can Sign In after you complete your registration
Contests
After you login, click on the Contests tab

This will show you all Contests being hosted on Pixlent.com
Select (click) on the Contest you want to participate in

Once on the contest page, click ‘Enter Contest’

Purchase Entries
This will bring you to the Purchase Entries page

Here you can choose the number of photos you want to submit, and pay the Entry Fee
1. Pick the number of photos you want to submit.
Our attractive discount scheme allows you to save more if you are submitting 5 or more entries! If you want to send more than 20 photos, you can type in the number of entries in the space provided
2. Then agree to Contest Terms & Conditions. You can also view the detailed Terms here
3. Click the Pay button to proceed
Next you can comfirm the amount before proceeding to pay.

Once you hit Proceed to Pay, do not click the Back or Refresh button in your browser! You will be directed to our payment gateway
We use a highly secure & industry leading payment gateway provided by Razorpay
Please check if your contact details (mobile phone & email) are correct, to receive an additional confirmation from the payment gateway.
And choose any payment method you like.

- Credit & Debit Cards
- Netbanking – through all Indian banks
- Popular Wallets
- UPI/ QR code for payment using Google Pay, BHIM UPI, Paytm, or any UPI etc.
Pick a payment mode of your choice and complete the payment

Once your payment is successfully done, you will come to the Photo Submission page
Upload or Choose Photos to Submit

If you have Participated in a Pixlent Contest or have uploaded photos earlier, any photos whose file size/ dimensions/ type match the Contest requirements, will be show on the left
If you are participating in a Contest on pixlent.com for the first time or have not previously uploaded any photo that meets the Contest requirements, the area on the left will be blank (like in the image above)
Click on ‘Upload More’ to add (more) photos

If you have existing photos, and don’t need to upload any more, you can directly jump to Select Photos to Submit
How to Upload Photos
Clicking on ‘Upload Photos’ brings you to the Select Photos (to Upload) screen

Click in the designated area to add photo(s)

Take care that the photos you upload meet the requirements of the contest. Any photo that does not meet the requirements will be shown with a around it .
It could be :
Your photo is larger than 1024 KB (i.e. 1 MB), or
The dimensions of your photo are smaller than 800 x 1200 pixels, or
You are trying to upload a file that is not in .jpg/ .jpeg/ .png format
You need to remove or replace these photos before you can proceed
Click here for tips on how to re-size your photos to fit the contest requirements
Click the ‘Upload’ button to proceed
If you any of the photos do not match Contest Requirements, and you still try to upload, you will get an error message

If you have existing photos (uploaded previously), or if you change your mind, you can click the ‘Cancel’ button to go back.
Pixlent will show you the number of photos in your collection whose parameters (file type, file size & pixel dimensions) match those of the Contest.

Select Photos to Submit
Once you successfully upload the photos, you can now select which photos you want to submit to the Contest
You will come back to the selection page like the one below. Photos that you uploaded earlier show up on the left.

1. Click the check box next to each photo to select it. You can select more than one photos here
2. Then click the Add Photos button to add all selected photos to the Contest theme
3. Once you are done adding photos, click Proceed

This page will also show you details of how many entries you have purchased, entries uploaded/ submitted so far, and balance entries you can submit.
If you want, you can also Buy More Entries directly from this page
.
Confirm your Entries
Clicking Proceed brings you to a confirmation page

Here you can review your photos before you submit your entries to the contest.
Be sure to agree to Terms & Conditions of the Contest. The Submit button is activated once you select the checkbox “I completely agree to the terms and conditions”
Please note that once you click Submit, your
entry will be submitted to the contest.
After this you will not able to change the Theme or your Participation Category (if applicable). Nor can you replace/
modify any photo that is submitted to the contest.
You can always come back and submit more photos!
Once the Photo is successfully submitted, you will be returned to your account home page. To check your entries, you can go back to the Contest and look under My Entries tab.

Do not hesitate to contact us on Support@Pixlent.com for any queries!
Re-sizing your Photos
If the file size of your photo is larger than 1024 KB (1 MB), you will not be able to upload it to the contest.
Or if the pixel dimensions are smaller than 1200 x 800, you will not be able to upload it to the contest.
You can reduce the file size of a JPEG photo by reducing (i.e. re-sizing) its pixel dimensions (height and width). Typically, if you re-size your image to just over 1200 x 800 pixels, your file size should come down to 1 MB or less.
On a Windows PC, you can use the Paint application to re-size a JPEG photo. Ensure that ‘Maintain Aspect Ratio’ is checked.
On a Mac, you can use the built-in Preview application. Be sure to keep the ‘Scale Proportionately’ and ‘Resample image’ check boxes checked.
Try by setting the longer side of the photo to 1200 pixels. If you follow maintain aspect ratio or scale proportionately, the shorter side will be automatically calculated. Check that this doesn’t become less than 800 pixels. If it does, increase the longer side, to say 1250 to compensate.
You can also use a third-party application like IrfanView (free, on Windows) or any image editing software (like Photoshop or Lightroom or GIMP, etc).
There are lots of online resizing tools that you can access with just your web browser (Internet Explorer or Safari or Google Chrome). Search for “resize image online” and you will find many such websites, where you can upload your image(s) and get them re-sized.
It's always a good idea to create a backup or copy of your original image file before making changes to its size. This will allow you to revert to the original in case something goes wrong or you don't like the end result.


 Lalit
Deshmukh is a professional fine art photographer situated in Pune,
India. Lalit is very passionate about nature, where he draws much
of his inspiration for photography.He enjoys capturing special
moments in nature and invoking emotions via the compositions and
the light.
Lalit
Deshmukh is a professional fine art photographer situated in Pune,
India. Lalit is very passionate about nature, where he draws much
of his inspiration for photography.He enjoys capturing special
moments in nature and invoking emotions via the compositions and
the light. 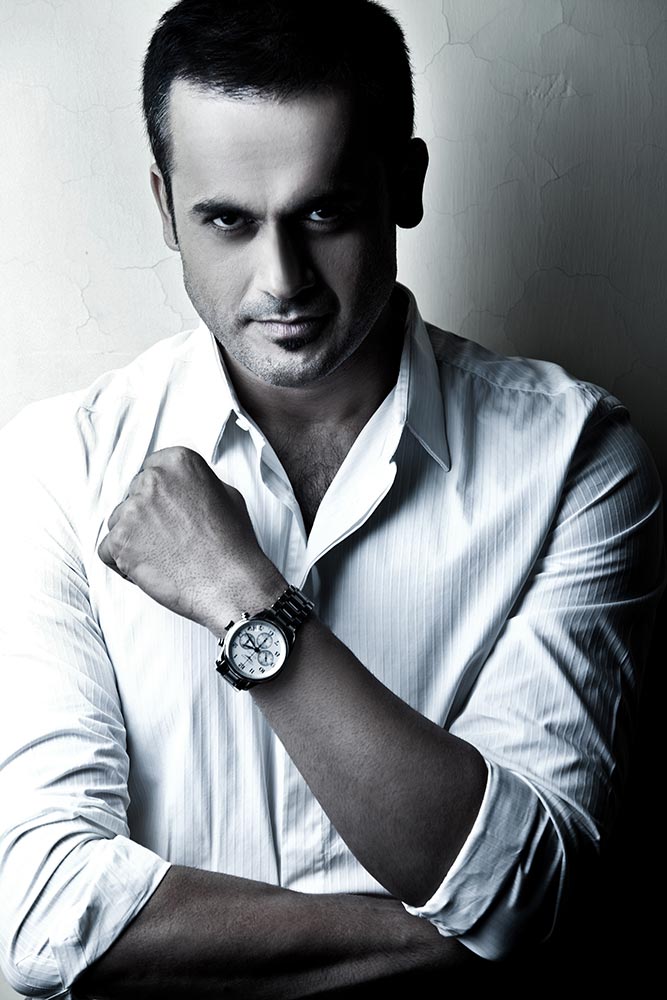 Talk famous
photographers and Sameer Belvalkar is one of the top photographers
that come to the mind. Unlike other photographers in Mumbai Sameer
Belvalkar began his professional photography career as a press
photographer. Gaining experience as he was mentored by some of the
top photographers in Mumbai he was able to develop skills in
modelling photography, portrait and people photography, commercial
photography, advertising photography, fashion photography and
portfolio photography. Sameer Belvalkar has also had the unique
opportunity to rub shoulders with top names in bollywood, fashion
and advertising industry and over time he has emerged as one of
the best commercial photographers in Mumbai.
Talk famous
photographers and Sameer Belvalkar is one of the top photographers
that come to the mind. Unlike other photographers in Mumbai Sameer
Belvalkar began his professional photography career as a press
photographer. Gaining experience as he was mentored by some of the
top photographers in Mumbai he was able to develop skills in
modelling photography, portrait and people photography, commercial
photography, advertising photography, fashion photography and
portfolio photography. Sameer Belvalkar has also had the unique
opportunity to rub shoulders with top names in bollywood, fashion
and advertising industry and over time he has emerged as one of
the best commercial photographers in Mumbai.